BALANCE YOUR PC’S COOLING WITH FANCONNECT II AND FAN XPERT 4
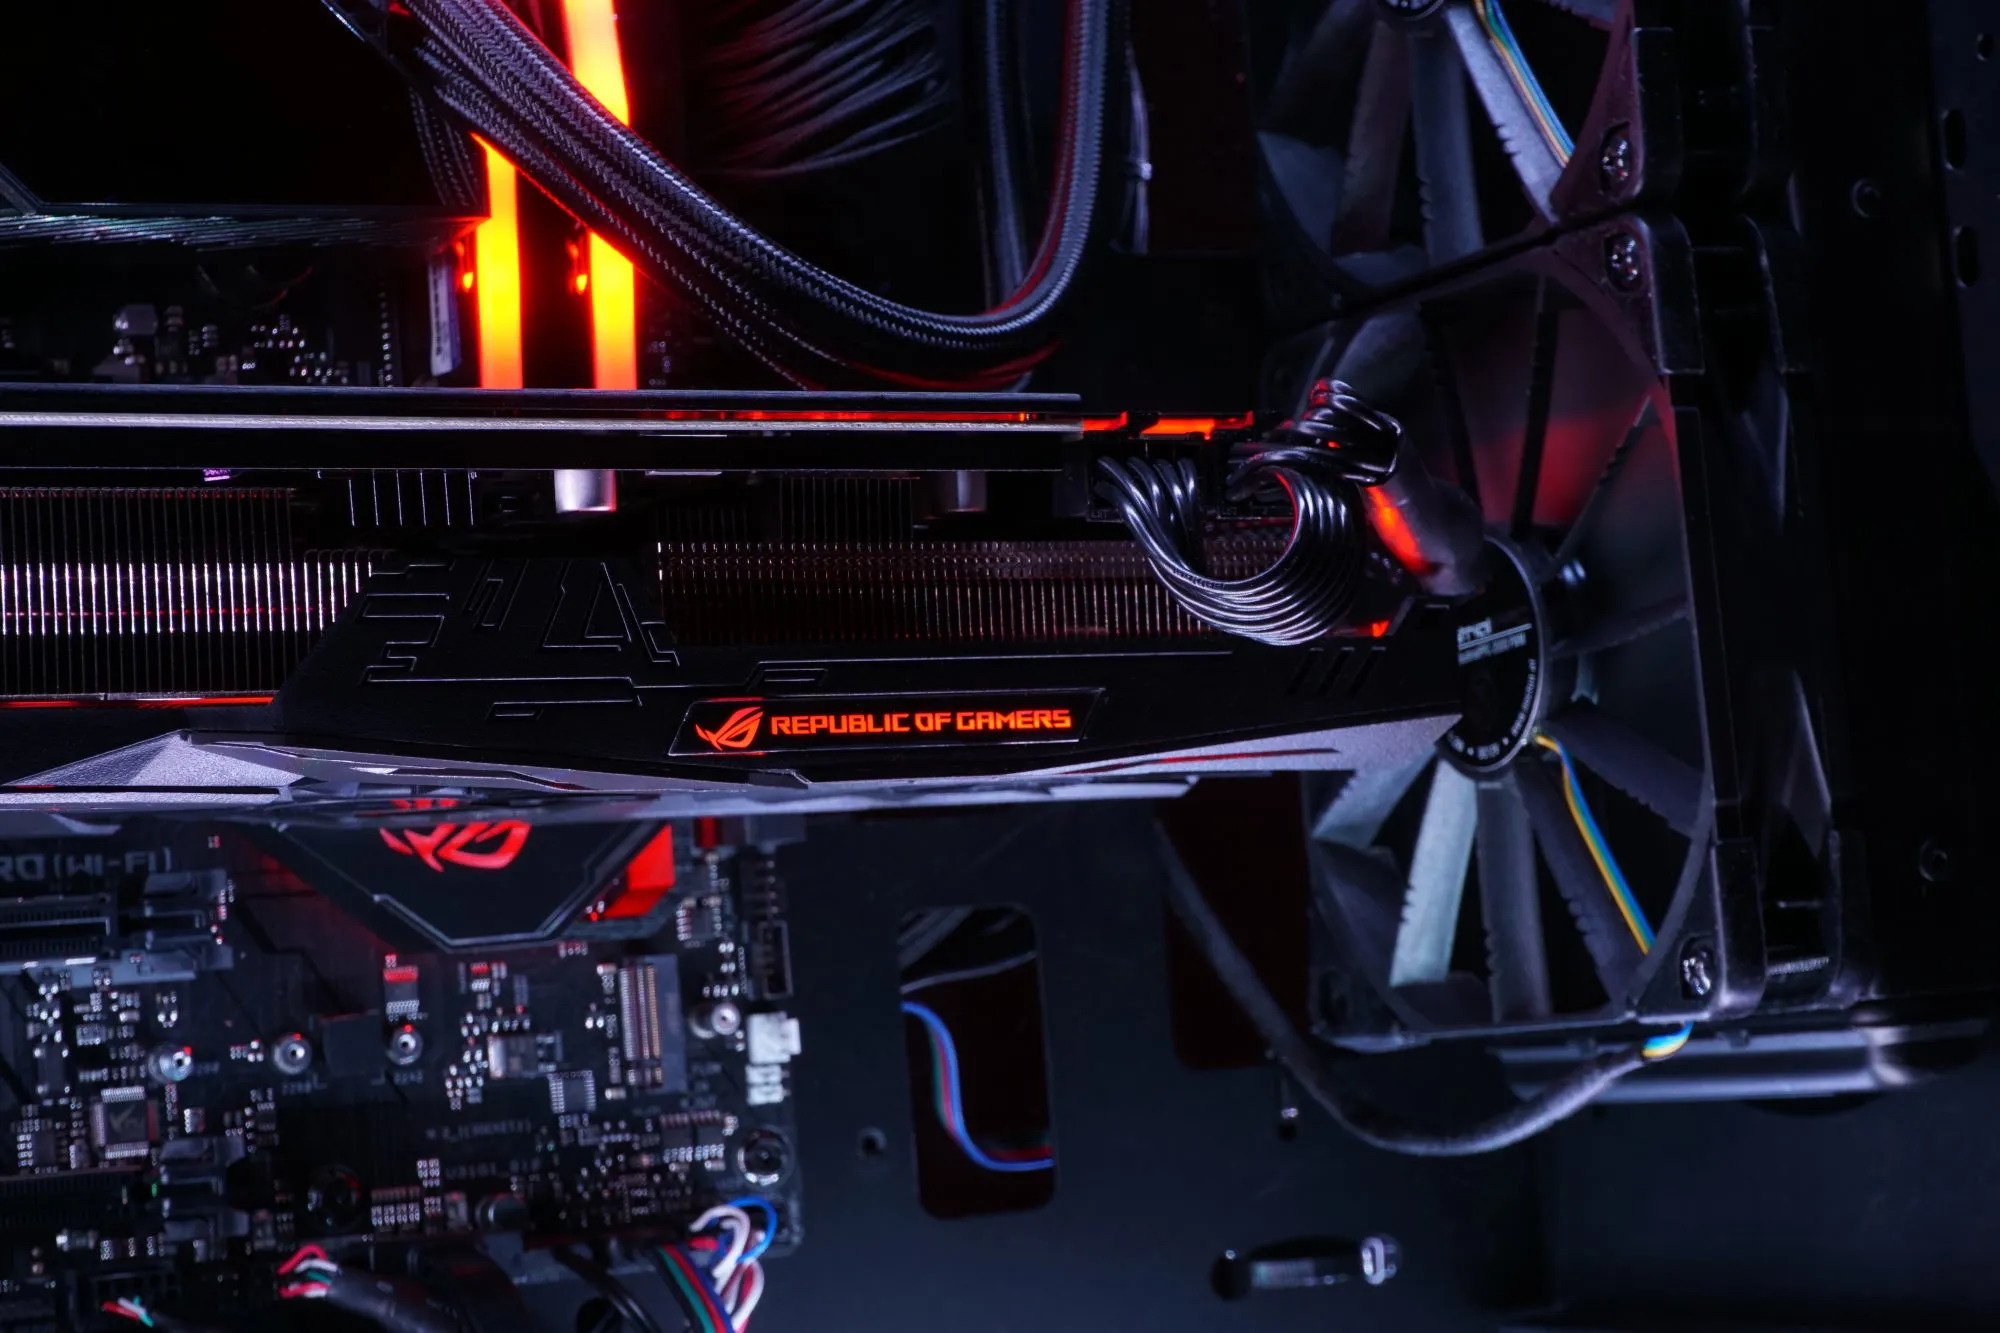
Heat is the worst enemy of PC hardware. When temperatures rise too high, silicon can throttle back its clock speeds to preserve itself, harming performance. And if you run your overclocked build at too high a temperature, a phenomenon called electromigration can degrade your chip’s circuitry at a rapid pace. Eventually, your CPU or GPU might destabilize or even fail.
Nowadays, chip manufacturers design a wide range of protection mechanisms into their components, preventing careless combinations of settings or a lopsided heat sink from doing harm. But enthusiasts looking to extract maximum performance from their PCs still need to pay close attention to cooling. After all, even at stock clock rates, an optimized system can be made to run quietly at low temperatures under load.
Poor, overlooked graphics cards
Some CPUs include good-enough heatsinks and fans, while others don’t come with coolers at all. Graphics cards, on the other hand, always come with a heatsink of some kind. It’s no surprise, then, that aftermarket CPU cooling gets a lot more attention than the handful of techniques used to try improving GPU temperatures.
When it comes to gaming, though, your graphics card is under more load than any other component. That load is incredibly dynamic, too. It spikes and dips on a scene-by-scene basis, varying cooling requirements from one moment to the next. The card’s fans respond quickly to those ever-changing conditions. But the case fans responsible for pulling cool air in and pushing warm air out of your chassis aren’t usually aware of what’s happening with the GPU at all. Instead, they’re frequently set up to respond to CPU temperatures alone.
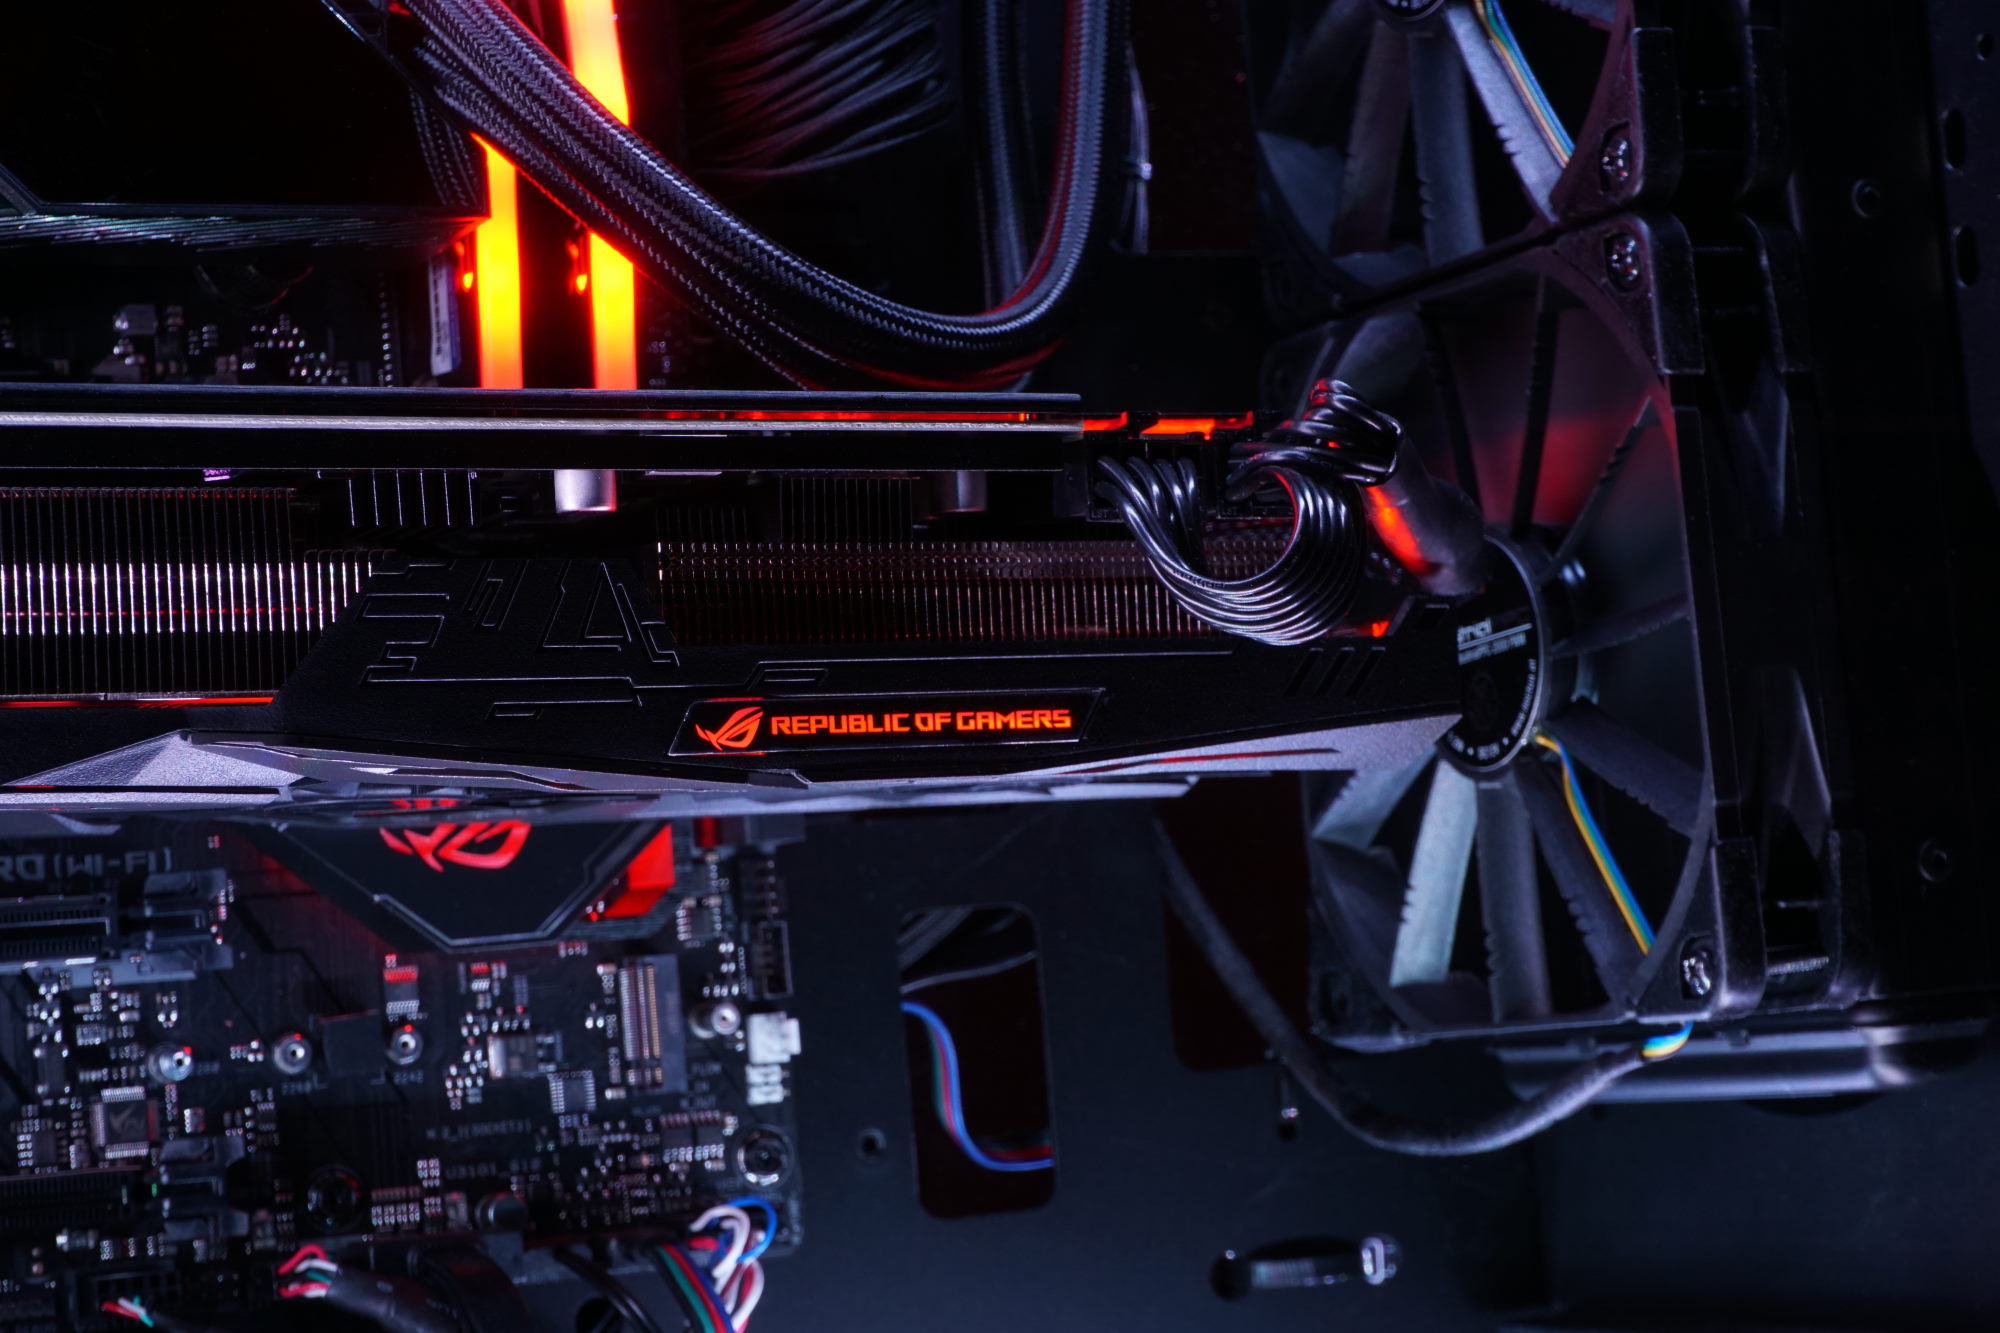
That’s because intake and exhaust fans, just like the fans responsible for cooling your CPU, are usually connected to motherboard headers. They may all be configured to work together, keeping the host processor from overheating by spinning faster when you fire up a demanding workload. Even closed-loop liquid coolers like the ROG Ryujin AIO cooler we put into our Ryzen build connect directly to a motherboard header.
Not so for your graphics card. It’s usually on its own, unable to ask for more airflow from case fans when the gaming action heats up. Beefy coolers like the one found on our ROG Strix Radeon RX 5700 XT help compensate for the GPU’s relative isolation with thick heat pipes and dense arrays of aluminum fins. But after drawing thermal energy away from your GPU and dissipating it into your chassis, the graphics card has done everything it can. From there, case fans have to keep that hot air moving.
Our FanConnect II feature is the missing link between graphics cards and case fans. When you’re playing your favorite title and temperatures are at their highest, FanConnect II allows you to bring in more outside air so the GPU’s cooler doesn’t have to work so hard. The feature requires a physical connection between your case fans and graphics card, plus a bit of software configuration.
Some love for the lovely
The ROG Strix Radeon RX 5700 XT, like many other ROG Strix graphics cards, sports a pair of four-pin headers specifically designed to accommodate case fans. Our GPU Tweak II software detects the connection and monitors the GPU’s temperature, giving you a handy readout of what’s happening at all times. We recommend downloading the latest version of GPU Tweak II if you don’t already have it, since it’s updated often.
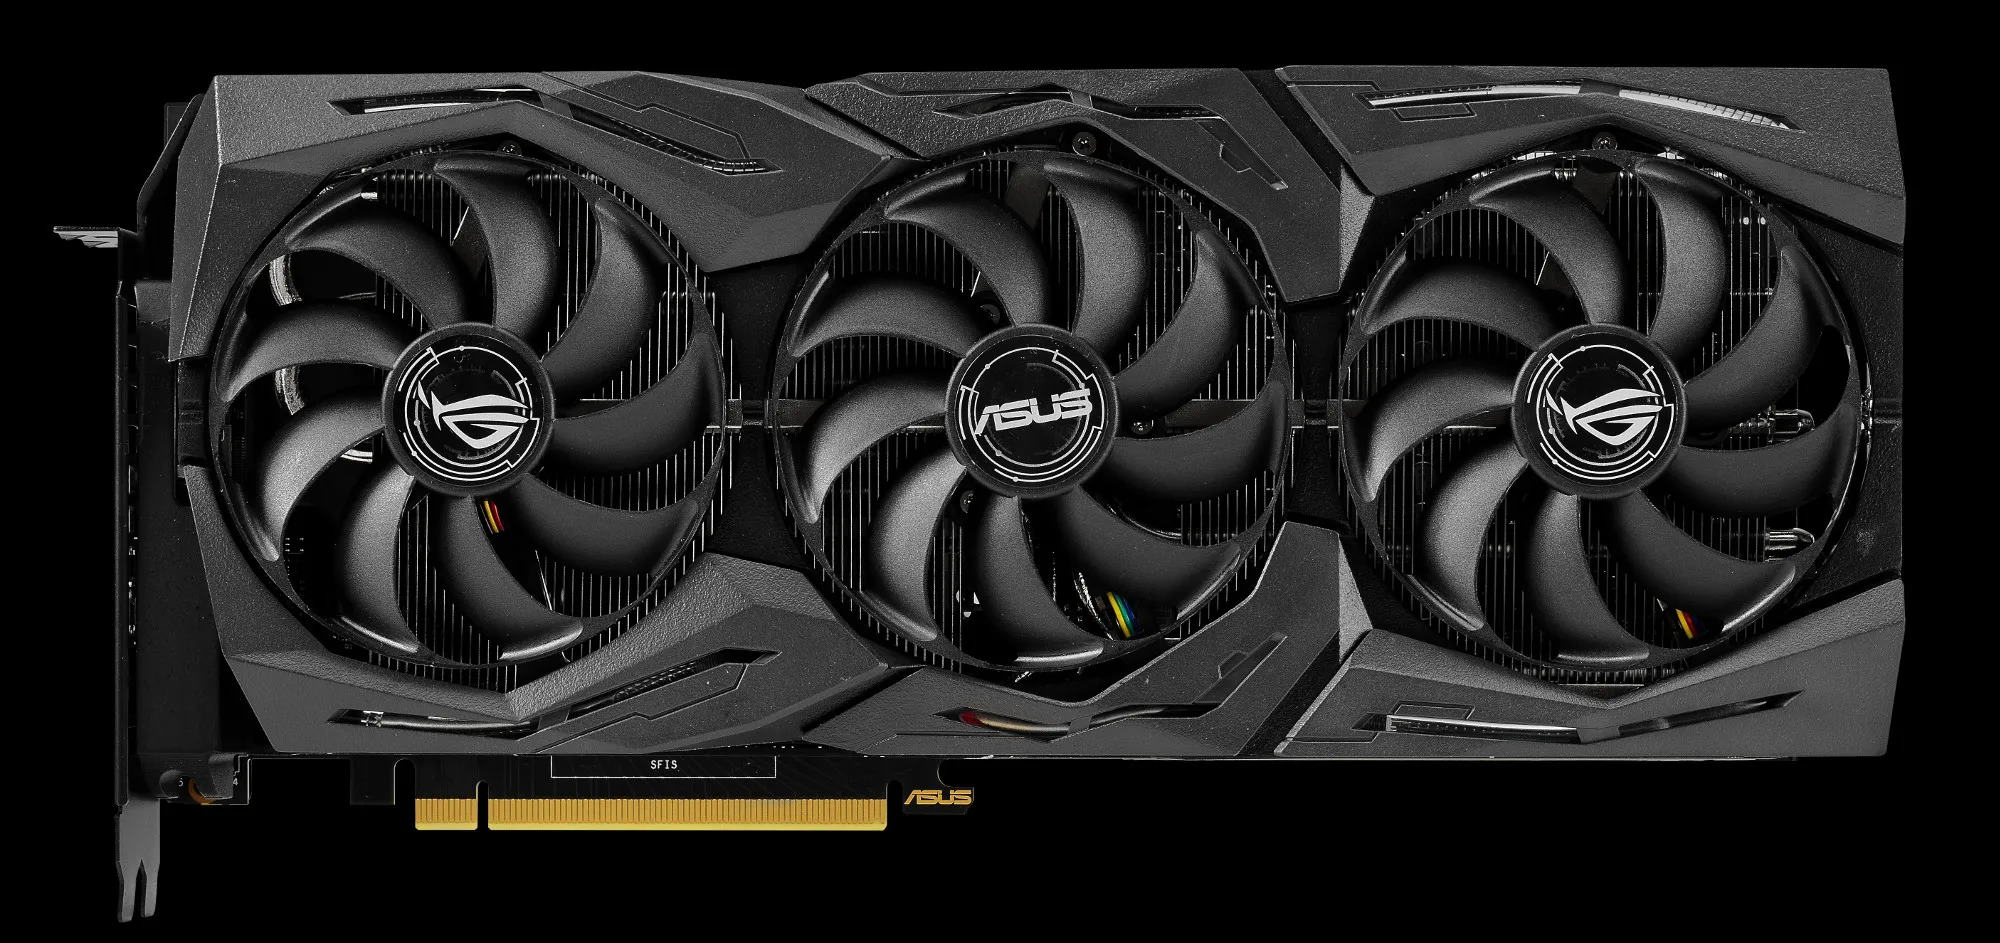
If you already have a PC with a couple of front-mounted intake fans pointed right at your ROG Strix card, simply unplug them from their motherboard headers and hook up to the add-in board instead. Just be sure your system is completely powered down before you start yanking cables out of their connectors.
When you restart your computer, open GPU Tweak II. Then click Advanced Mode in the window’s lower-right corner. Here, you gain manual control over a wide range of overclocking settings and fan speeds. We’re specifically interested in the EX Fan controls at the very bottom of this tab, however.
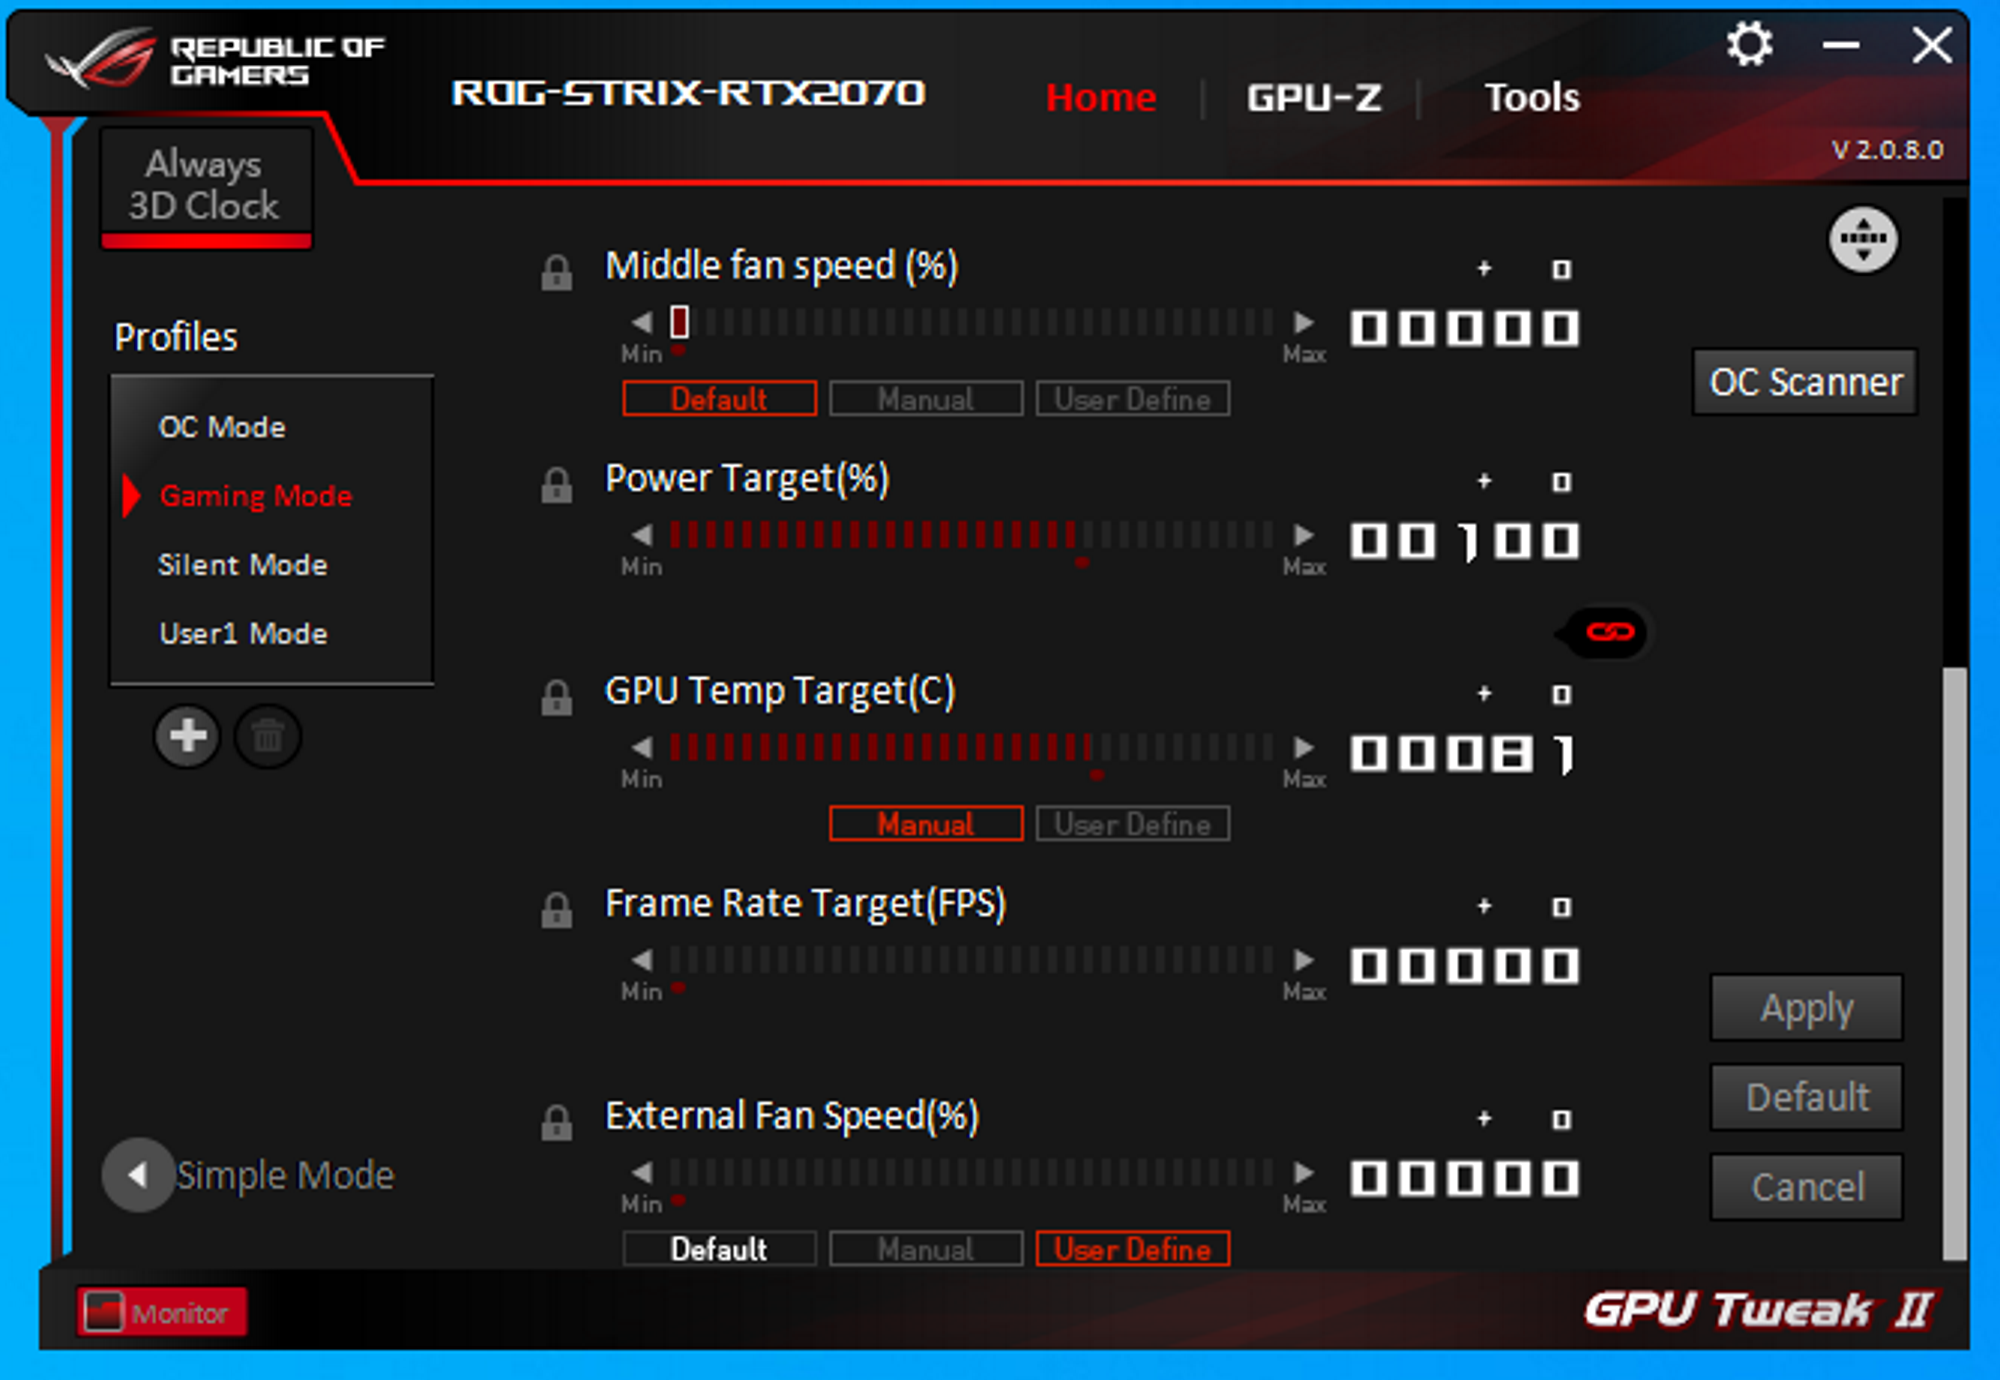
By default, any fans wired to the FanConnect II headers will follow the default fan curve from the graphics card itself—including a full fan stop in the 0dB mode if you’ve moved the hardware switch on the graphics card to the “Quiet” setting on our most recent products. This default setup is blissfully quiet, but we understand if you want air flowing in from your intake fans at all times.
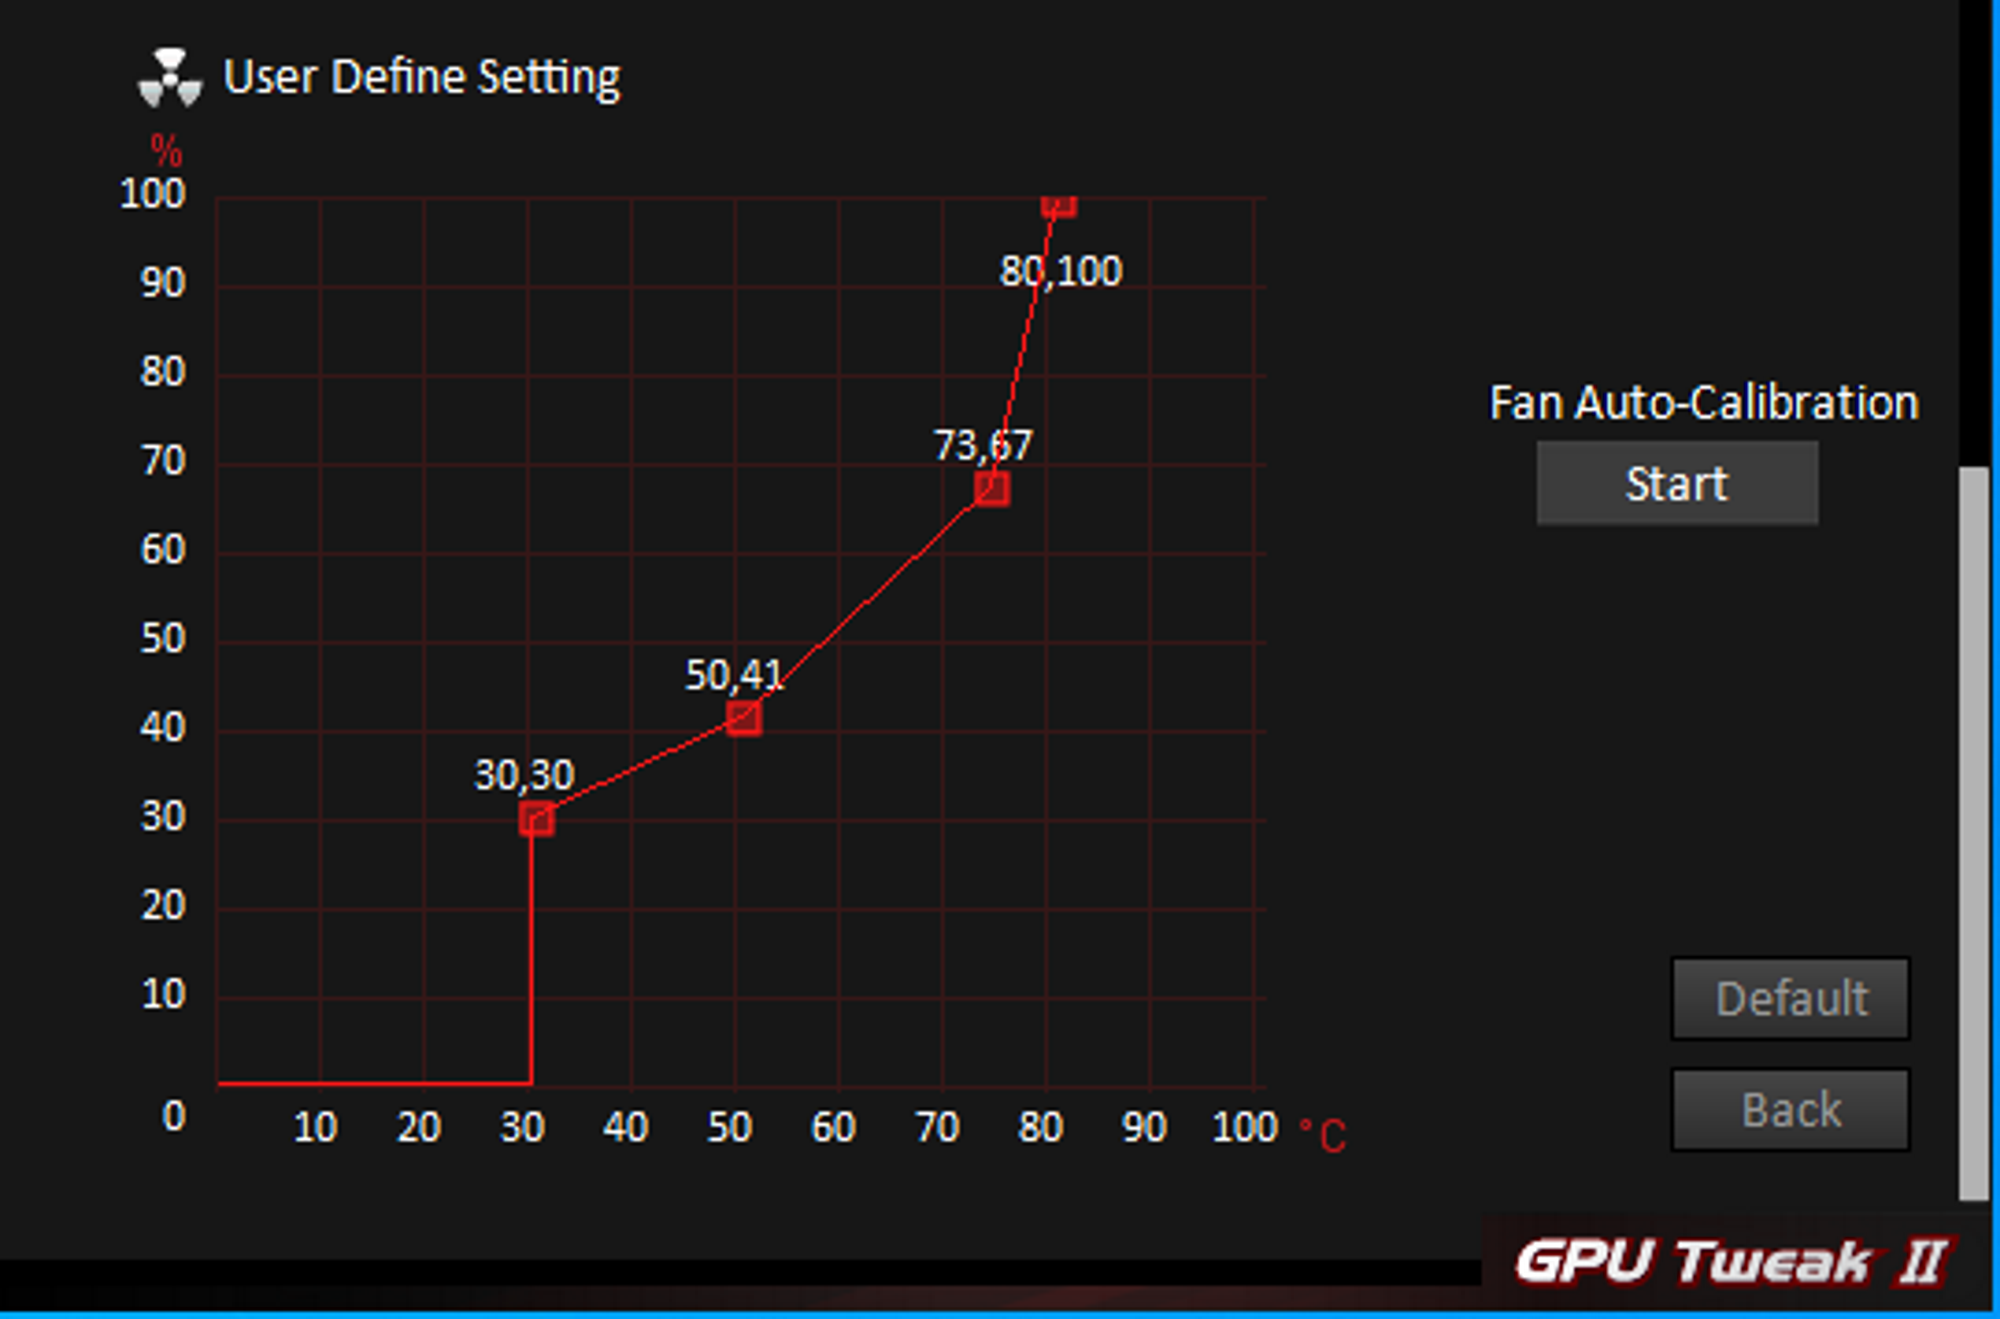
First, run our built-in fan profiling tool by finding “Fan Auto-Calibration” on the right-hand side of the window and clicking “Start.” This routine quickly ramps your connected fans up and down and finds their controllable range. Once the utility is done, you can grab the left point on the curve and move it all the way to the left. Click “Save” in the lower right hand corner of the window, then click “Apply” in the lower right of the Advanced Mode view in GPU Tweak II.
Once you’ve set up the fans’ behavior at idle the way you want it, you can further tune the slope of the curve. Since both the graphics card and the intake fans are working together to handle the thermal load of the GPU, perhaps you don’t want the front fans running all out when the graphics card reaches or exceeds the 80º C threshold. You can lower this peak speed at will, save and apply it, and see how you like it. Tune it to taste, and then you’re all set.
Your motherboard is your friend
There’s a second piece of software you can add to coordinate fan behavior. Fan Xpert 4, an element of the AI Suite 3 suite that comes with your ASUS motherboard, gets your fans to intelligently respond to system temperatures. Like FanConnect II, it includes monitoring functionality. But the software also lets you create custom curves to define rotational speeds at specific temperatures.
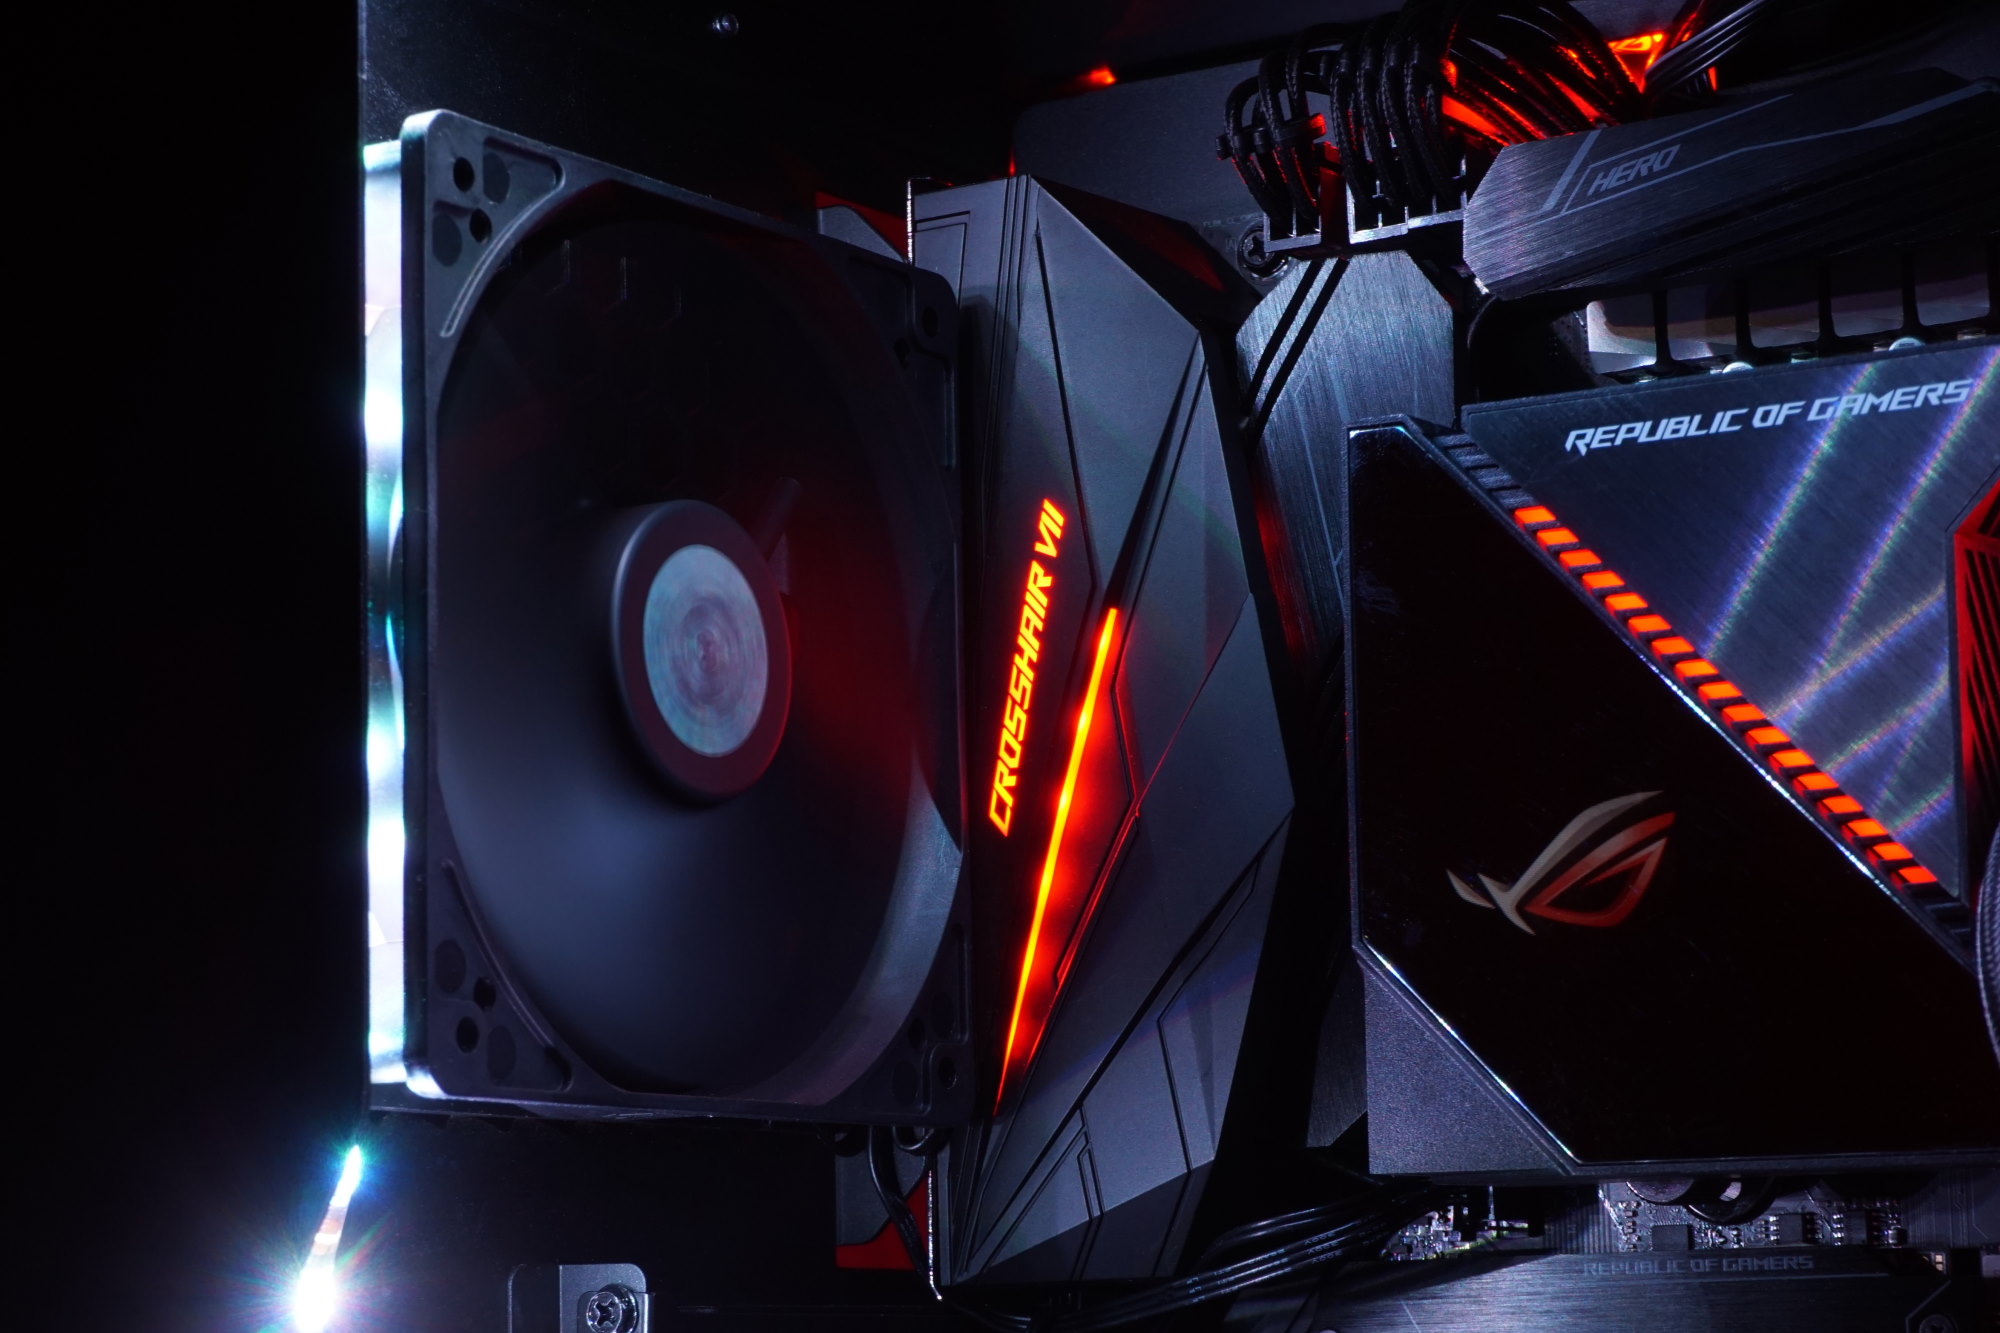
To access it, open AI Suite 3 and press the Fan Xpert 4 button. Click Fan Tuning on the lower-right side. The software finds each connector on the motherboard, identifying the respective characteristics and locations of each fan that’s plugged in. They all show up in a carousel at the top of the window, with a fan curve displayed on one side and an illustration of each fan’s location on the other.
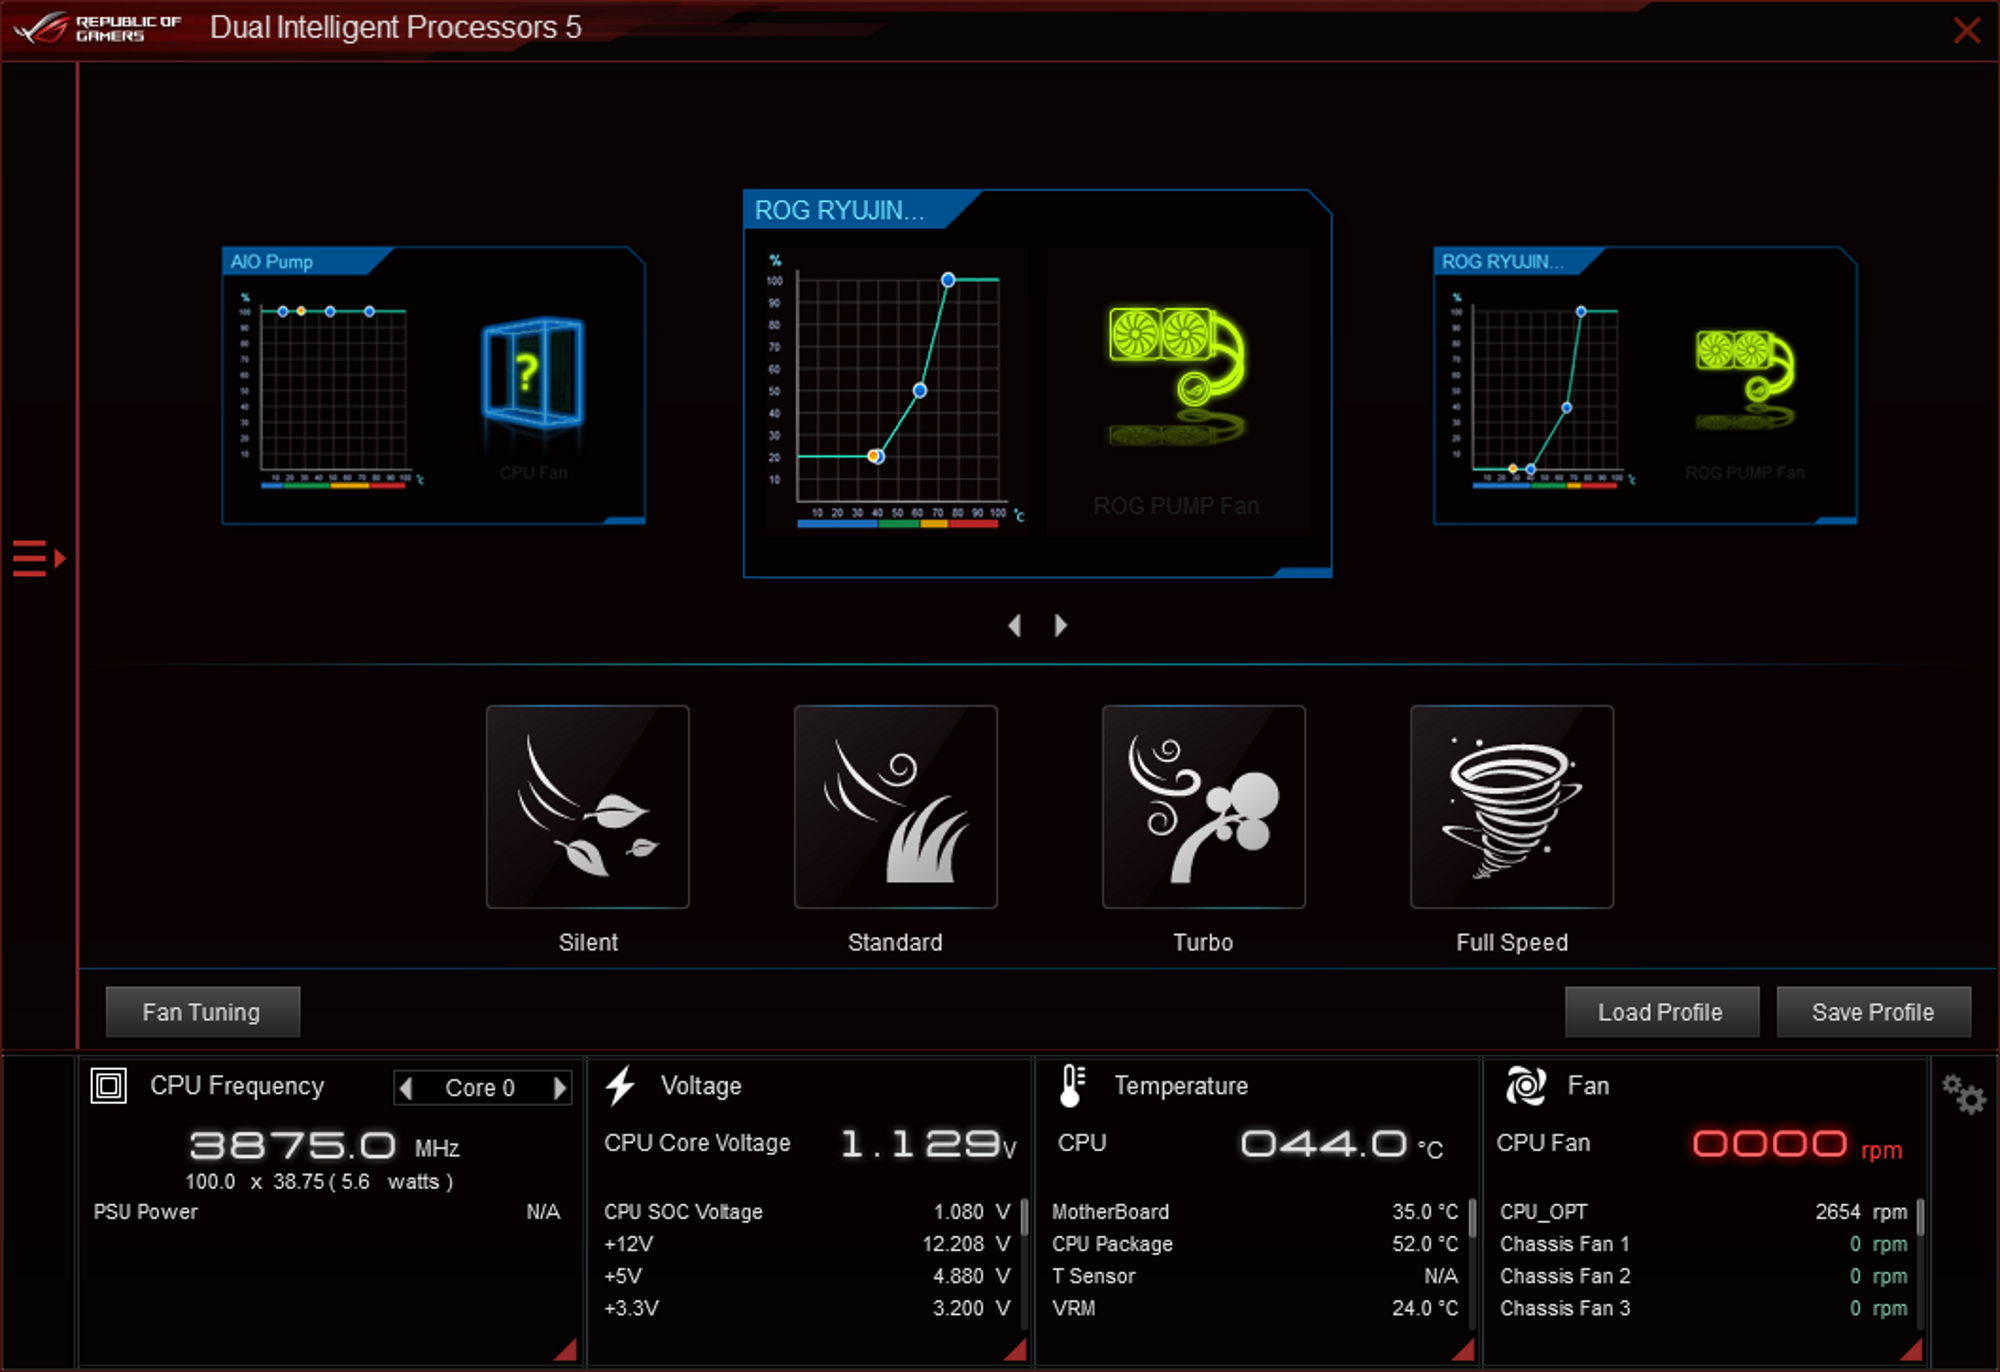
Fan Xpert 4 has four built-in modes: Silent, Standard, Turbo, and Full Speed. These have some obvious implications. Silent mode, for example, keeps noise below a certain threshold. Full Speed cranks the fans all the way up to maximum duty cycle for no-compromise cooling.
Click the curve of any fan to open a new window where you can customize its slope, temperature source, quiet fan speed ranges, and more. You can even configure the fans to react to CPU or GPU temperatures, whichever is higher at any given moment. It doesn’t get much better than a holistically aware thermal solution that reacts to any sort of workload, helping cool the component that needs it most.
All about that balance
While FanConnect II pays special attention to GPU temperatures, spinning a couple of attached case fans up or down accordingly, Fan Xpert 4 is more of a control center for your entire PC’s cooling subsystem. You get a bird’s-eye view of component temperatures, plus an up-close, granular way to tune fans for more responsive cooling.
Digging into either application doesn’t guarantee you’ll see lower temperatures or better overclocks. But that’s not their purpose. Rather, the idea is to give you more control over the way your hardware responds to taxing workloads, letting you create the ideal balance between noise and temperatures for your unique system. It does you no good to have a nice, cool CPU if your graphics card is sweating bullets or vice versa.
By making your PC aware of what’s going on with each component, the right fans can respond to whatever stress your software applies. You get optimized temperatures, optimized noise levels, and optimized power consumption.
There’s a lot of data that goes into intelligent hardware management, and all that information is at the ready for enthusiasts looking for a bit of insight. Keep an eye on GPU usage to verify that the graphics card’s cooler is responding the way it’s supposed to under load. Or compare the rotational speeds of your case fans to maintain positive pressure and minimize dust build-up. Check the clock rate of your CPU to ensure an aggressive overclock isn’t causing throttling to reduce performance.
There is so much you can do to tune your PC once you have its vital statistics up in front of you. And all of that is available through ROG motherboards and ROG Strix graphics cards. Once you have the right gear in place and a system full of fans, you can get down to the business of optimizing your PC’s cooling with FanConnect II and Fan Xpert 4.


