Do you have family pictures you would like to save? How about just pictures from when you were younger out with your friends? How about those pictures from your senior prom that aren’t digital? Vivid-Pix has the answer for you. The Vivid-Pix Memory Station lets you easily convert and improve all of your pictures to digital so they can be shared and saved forever.
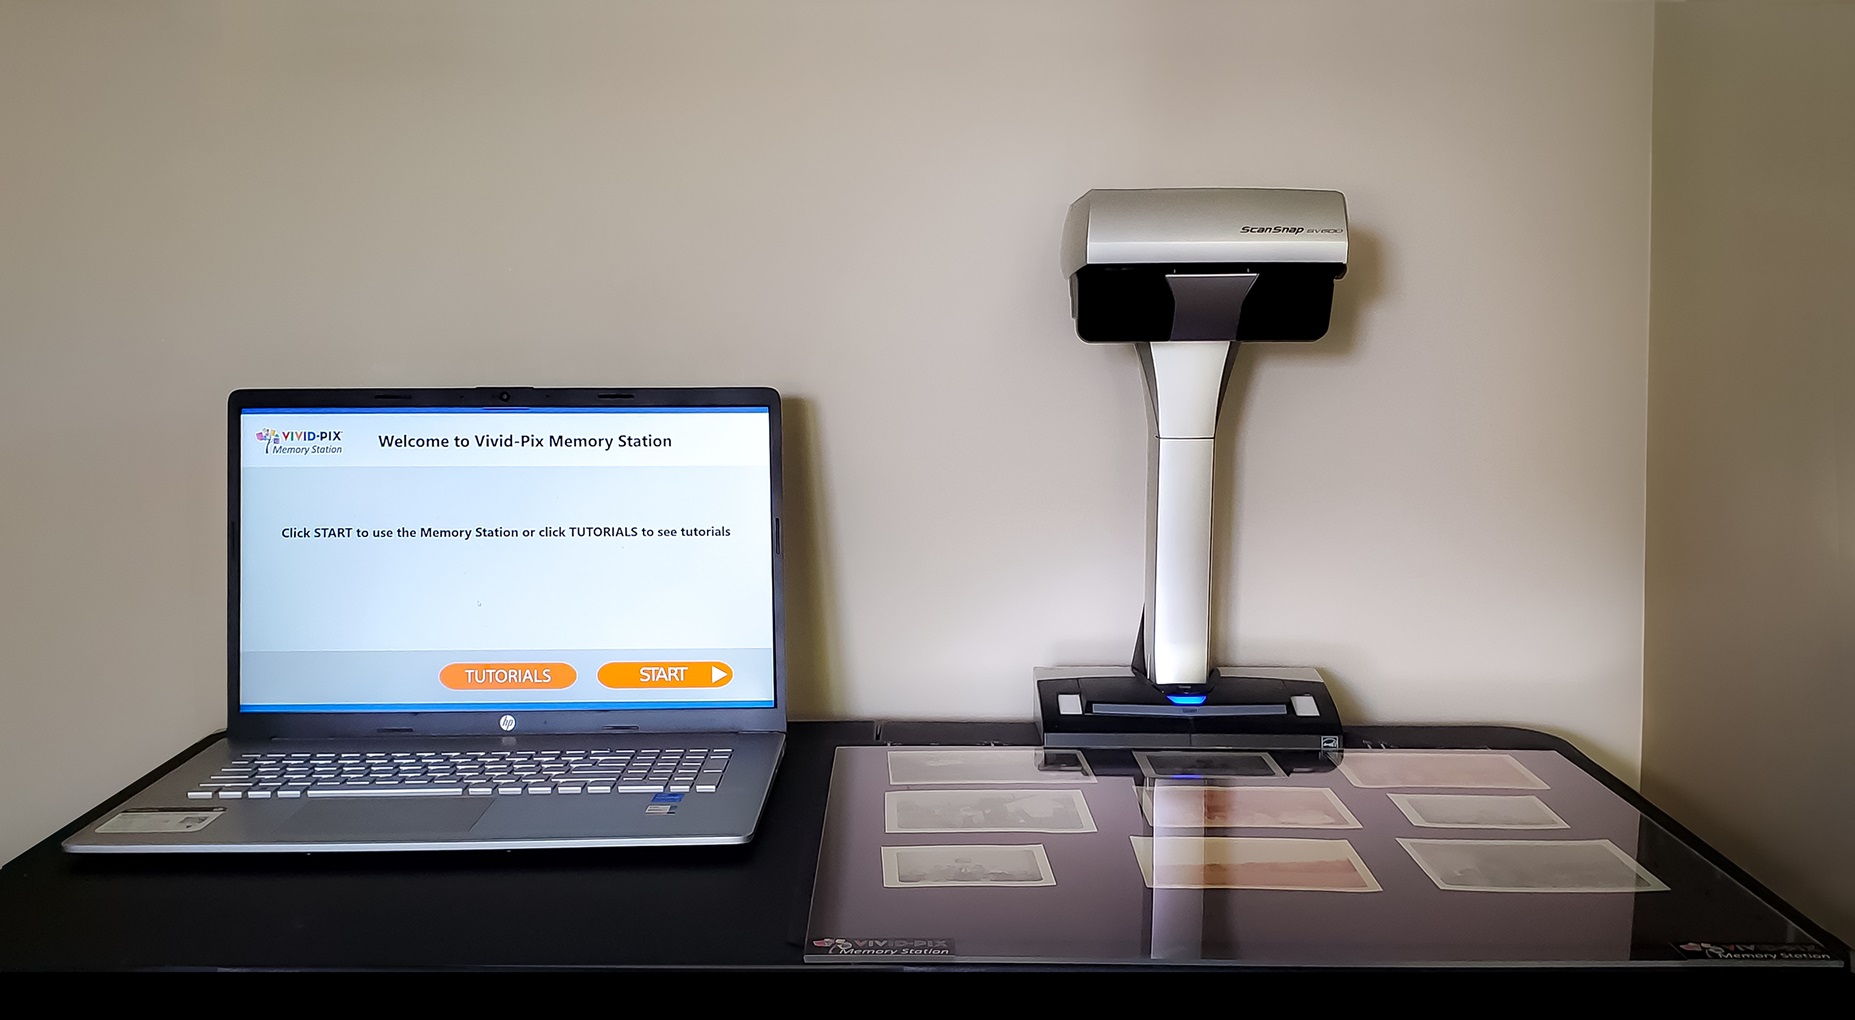
We already covered the scanner for the Memory Station, The SnapScan SV600. You can see the review of that HERE. Now let’s look and see how the whole system flows together.
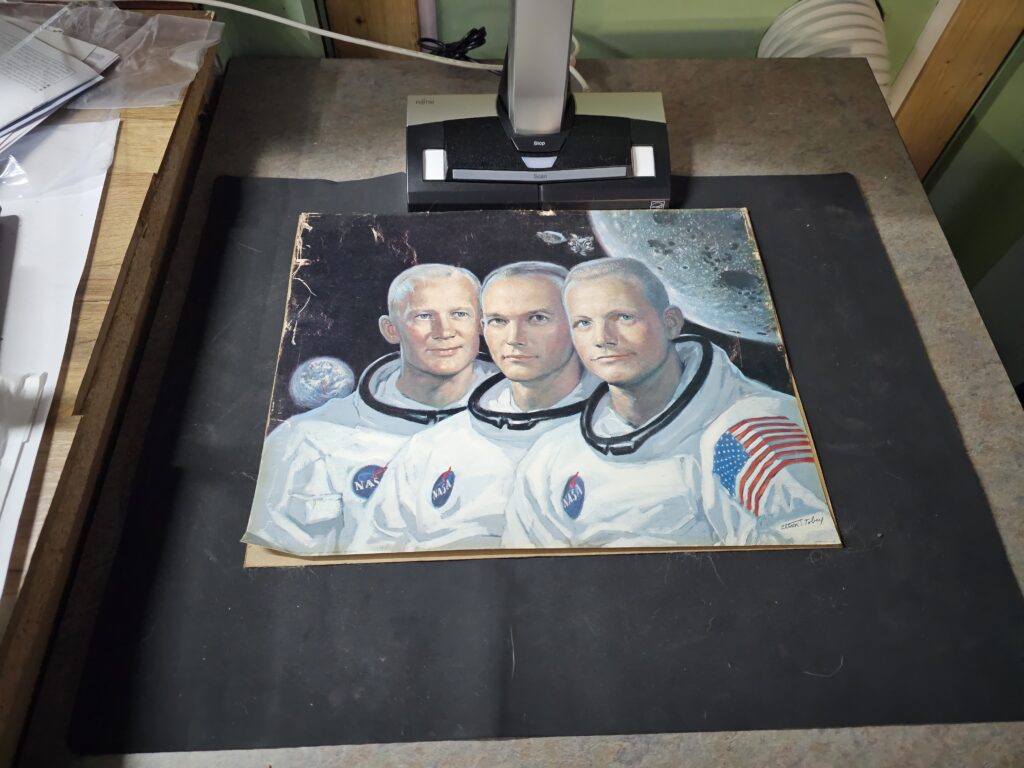
First step, after finding the picture you want, is to place the picture under the scanner on the pad that is provided with it. In this case, we are using a picture of the Apollo 11 Astronauts. If you have an older picture that the corners are curled or creased, you can use the plexiglass provided to hold the picture flat. This plexiglass doesn’t cause any glare or distortion to the pictures.
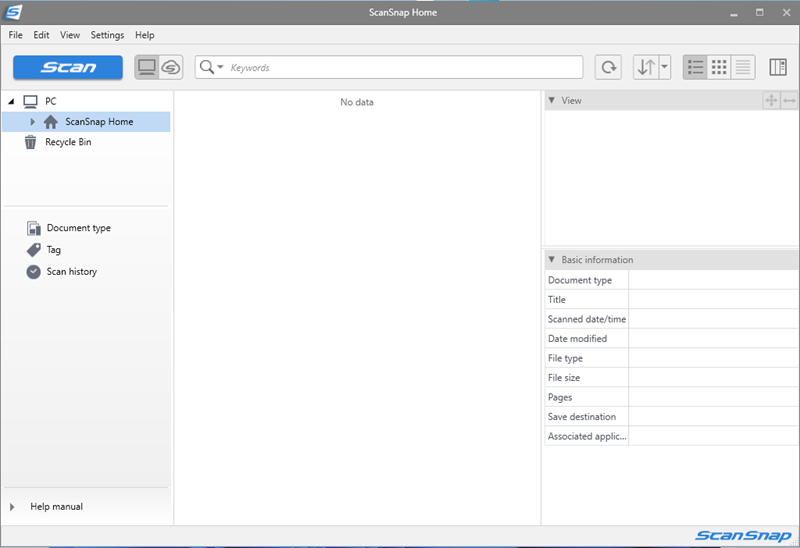
Next on your computer, you open the SnapScan software, and click scan.
From the next screen, you can choose what you are going to scan, Photos, Books, Documents, Magazine, Photo Albums, or Reciepts. For this we will be scanning photos.
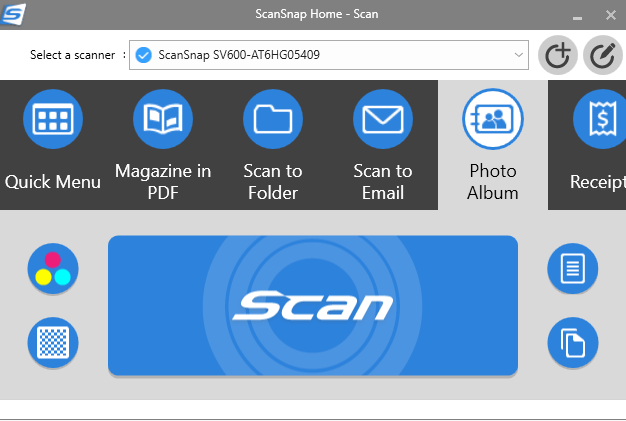
Then click the large Scan button.
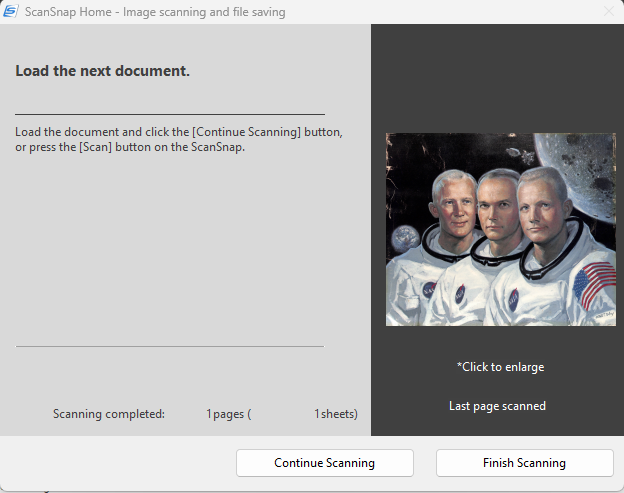
Once the scan is complete. You will get this screen. If you have more pictures you want to scan, you can click continue scanning and scan more, or in this case, since it’s the only picture we are scanning, we click finish scanning.
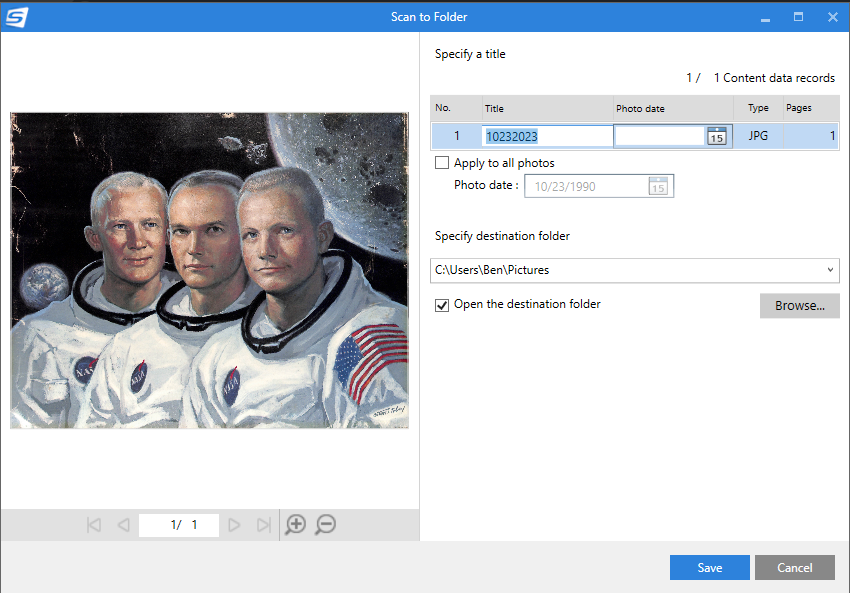
That brings us to this screen, where we can name the picture, and add a date( You can either use the date you took the picture, or the date it was scanned, or any day inbetween). You can also specify where you want the picture saved. Once the picture is saved, it will automaticall open up the destination folder so you can see it was saved.
Now that we have our picture scanned and saved, we can use the Vivid-Pix software to edit our photo.
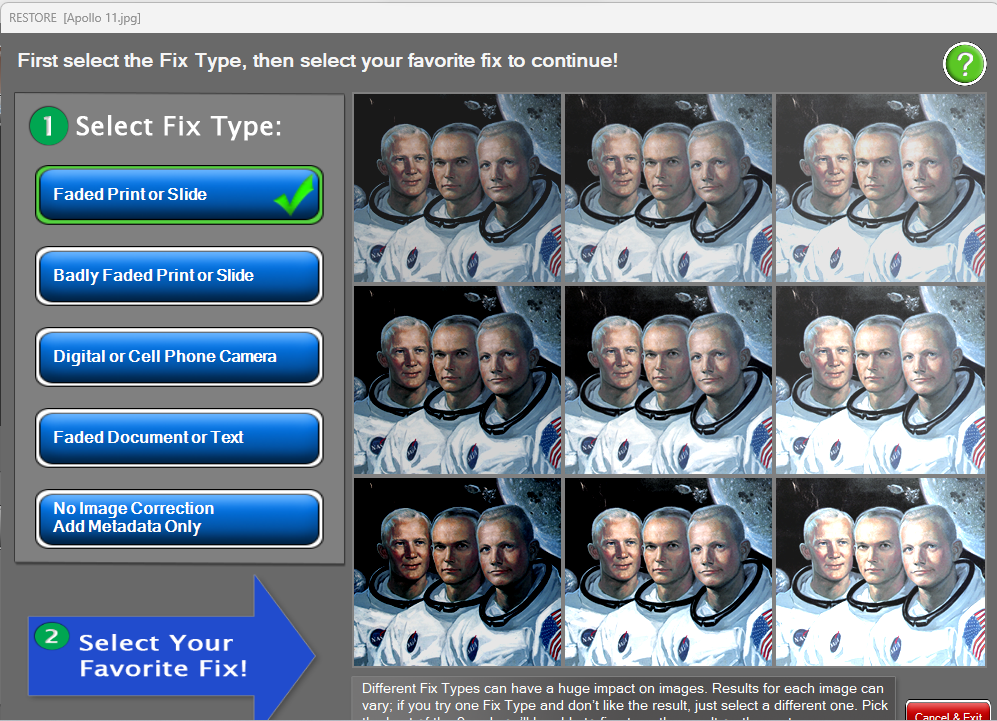
Now we are going to select our picture we just scanned and that brings us to this screen. This screen lets you choose the type of fix you want, and automatically shows you some of the correction you can do. If you like the auto correction the app did, you can select that picture, and it will bring you to the next screen.
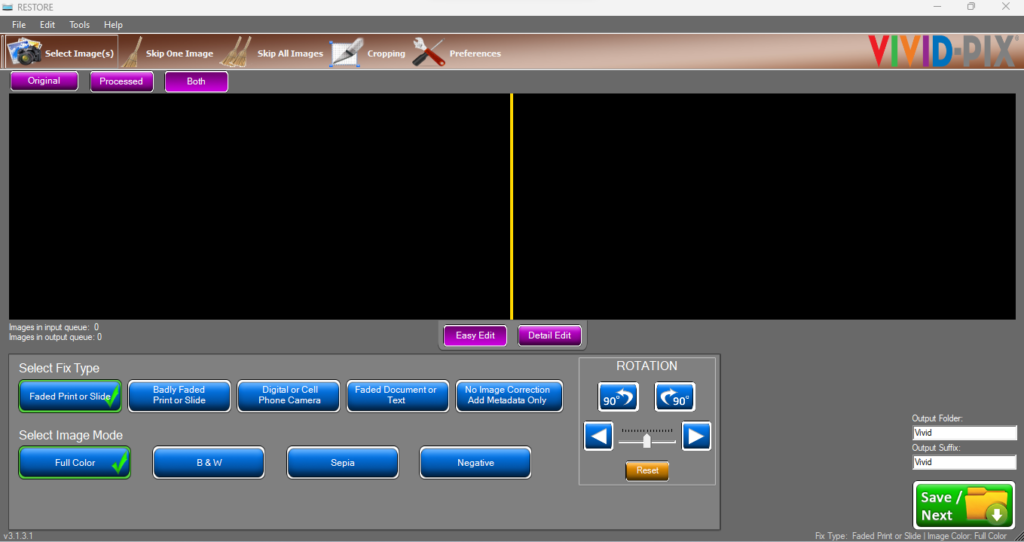
Here is where you can manually edit the picture. You can either do an Easy Edit, or a Detailed edit.
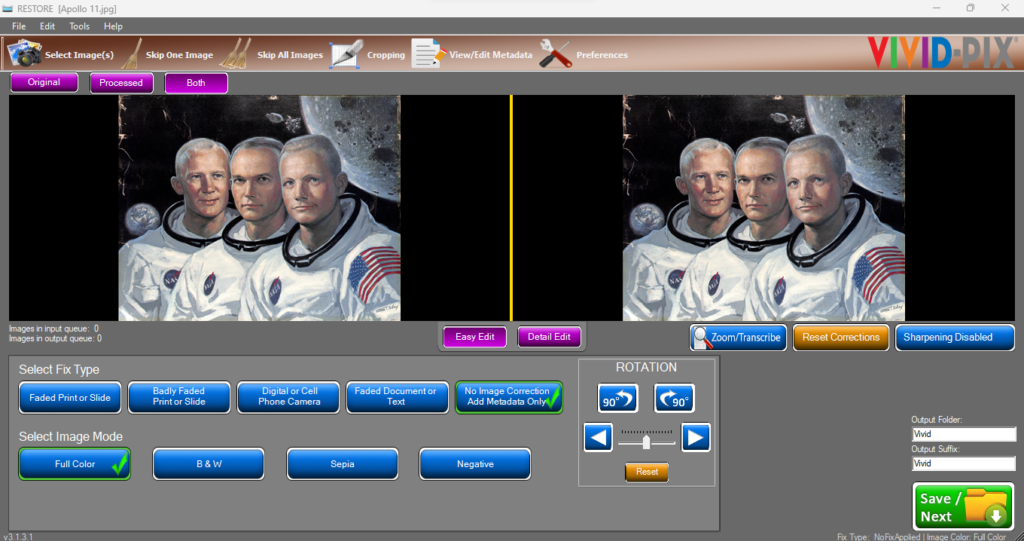
The Easy Edit gives you the choices you had on the last screen, along with being able to crop the picture, edit the Metadata, and rotated the photo. You can also change the image mode to Black and White, Sepia, or have the picture look like a negative. Once you have the picture how you want on this screen, you can click the Save/Next button and continue on.
Now lets look at the Detailed Edit screen.
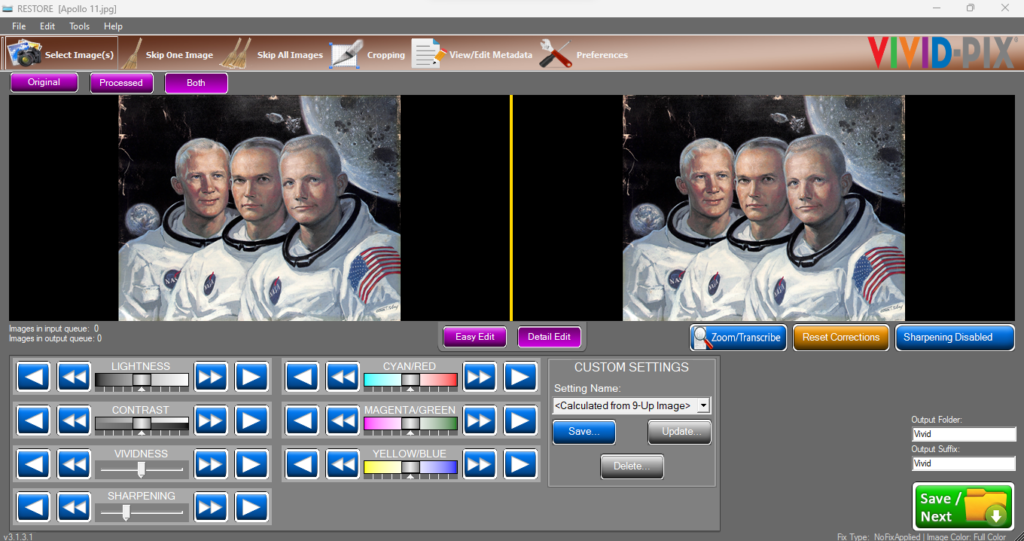
Here you can see you have a lot more choices to manipulate the picture to get the best quality or the way you want it to look. You can change the brightness, contrast, vividness, sharpen the picture, and change the color tones. The video below shows how the sliders work and the preview picture on the right with the changes in real time.
Once you have saved. You can go into your Pictures Folder, open up the Vivid folder and see the picture you just saved. Below you can see the difference in the pictures. The top picture is the original, the bottom is the picture edited with Vivid-Pix Restore Software.


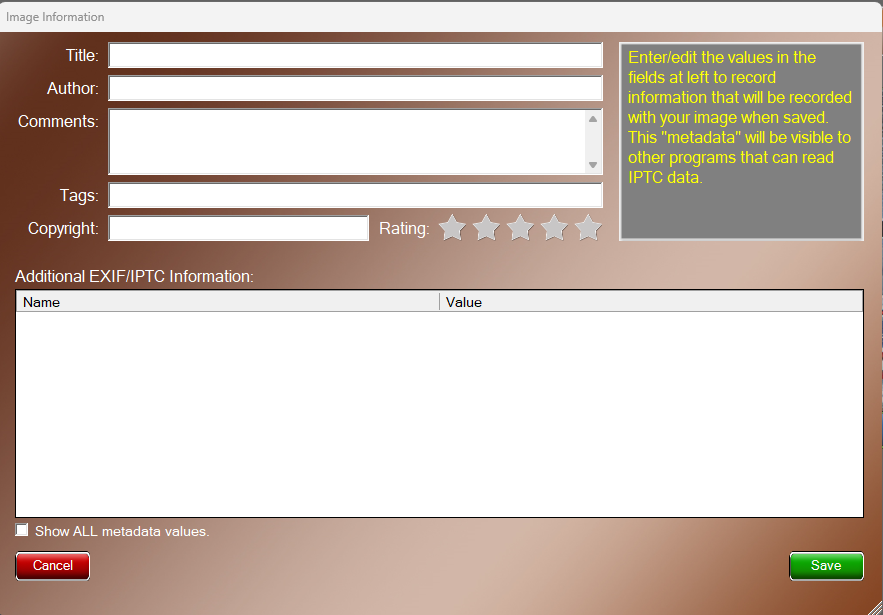
Here you can see the screen where you can edit all the Metadata for the picture. You can edit anything you want with this screen.
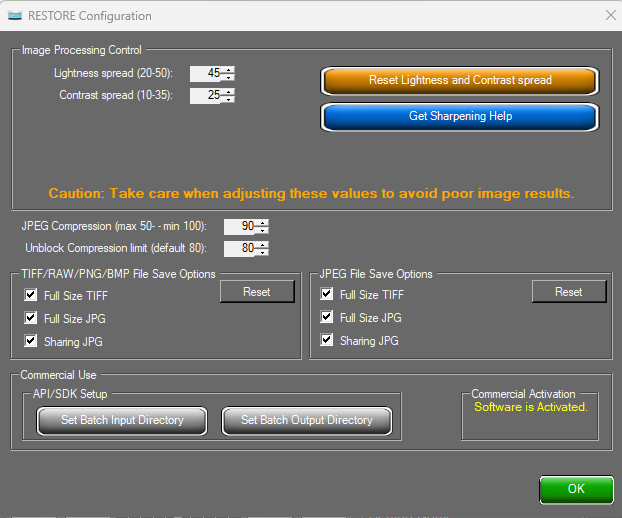
And here you have the Configuration Screen. This screen allows you to cahnge the Lightness Spread, Contrast Spread, Change the options on what types of files to save as, and change your input and output directory.
The Vivid-Pix Memory Station is a simple and easy way to digitize all of your photos, whether you are into Genealogy, or just want to keep your pictures safe.
The Vivid-Pix Memory Station is is available from Vivid-Pix for $629.98. This includes the SnapScan SV600 Scanner and the Restore Software.
If you just want to purchase the SnapScan SV600, you can do so HERE for $599.99
If you want to purchase the Vivid-Pix Memory Station with Education Bundle that lets you add audio recording to you pictures, you can pick it up HERE for $799.99